• chevron_right

      Mobile-friendly Gateway to any SIP Provider

      Stephen Paul Weber · Thursday, 22 February - 13:15 edit · 2 minutes · 11 visibility

    We have for a long time supported the public Cheogram SIP instance, which allows easy interaction between the federated Jabber network and the federated SIP network. When it comes to connecting to the phone network via a SIP provider, however, very few of these providers choose to interact with the federated SIP network at all. It has always been possible to work around this with a self-hosted PBX, but documentation on the best way to do this is scant. We have also heard from some that they would like hosting the gateway themselves to be easier, as increasingly people are familiar with Docker and not with other packaging formats. So, we have sponsored the development of a Docker packaging solution for the full Cheogram SIP solution, including an easy ability to connect to an unfederated SIP server

    XMPP Server

    First of all, in order to self-host a gateway speaking the XMPP protocol on one side, you’ll need an XMPP server. We suggest Prosody, which is already available from many operating systems. While a full Prosody self-hosting tutorial is out of scope here, the relevant configuration to add looks like this:

    Component "asterisk"
        component_secret = "some random secret 1"
        modules_disabled = { "s2s" }
    Component "sip"
        component_secret = "some random secret 2"
        modules_disabled = { "s2s" }

    Note that, especially if you are going to set the gateway up with access to your private SIP account at some provider, you almost certaintly do not want either of these federated. So no DNS setup is needed, nor do the component names need to be real hostnames. The rest of this guide will assume you’ve used the names here.

    If you don’t use Prosody, configuration for most other XMPP servers should be similar.

    Run Docker Image

    You’ll need to pull the Docker image:

    docker pull singpolyma/cheogram-sip:latest

    Then run it like this:

    docker run -d \
        --network=host \
        -e COMPONENT_DOMAIN=sip \
        -e COMPONENT_SECRET="some random secret 2" \
        -e ASTERISK_COMPONENT_DOMAIN=asterisk \
        -e ASTERISK_COMPONENT_SECRET="some random secret 1" \
        -e SIP_HOST=sip.yourprovider.example.com \
        -e SIP_USER=your_sip_username \
        -e SIP_PASSWORD=your_sip_password \
        -e SIP_JID=your-jabber-id@yourdomain.example.com \
        singpolyma/cheogram-sip:latest

    If you just want to connect with the federated SIP network, you can leave off the SIP_HOST, SIP_USER, SIP_PASSWORD, and SIP_JID. If you are using a private SIP provider for connecting to the phone network, then fill in those values with the connection information for your provider, and also your own Jabber ID so it knows where to send calls that come in to that SIP address.
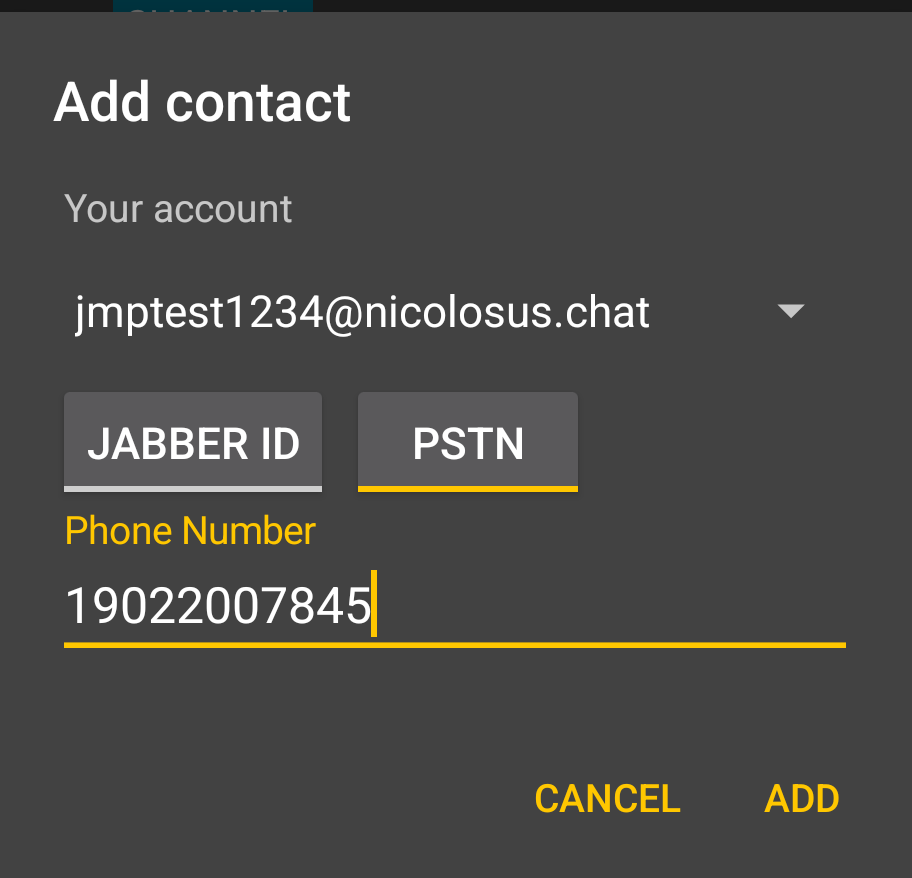
    Make a Call

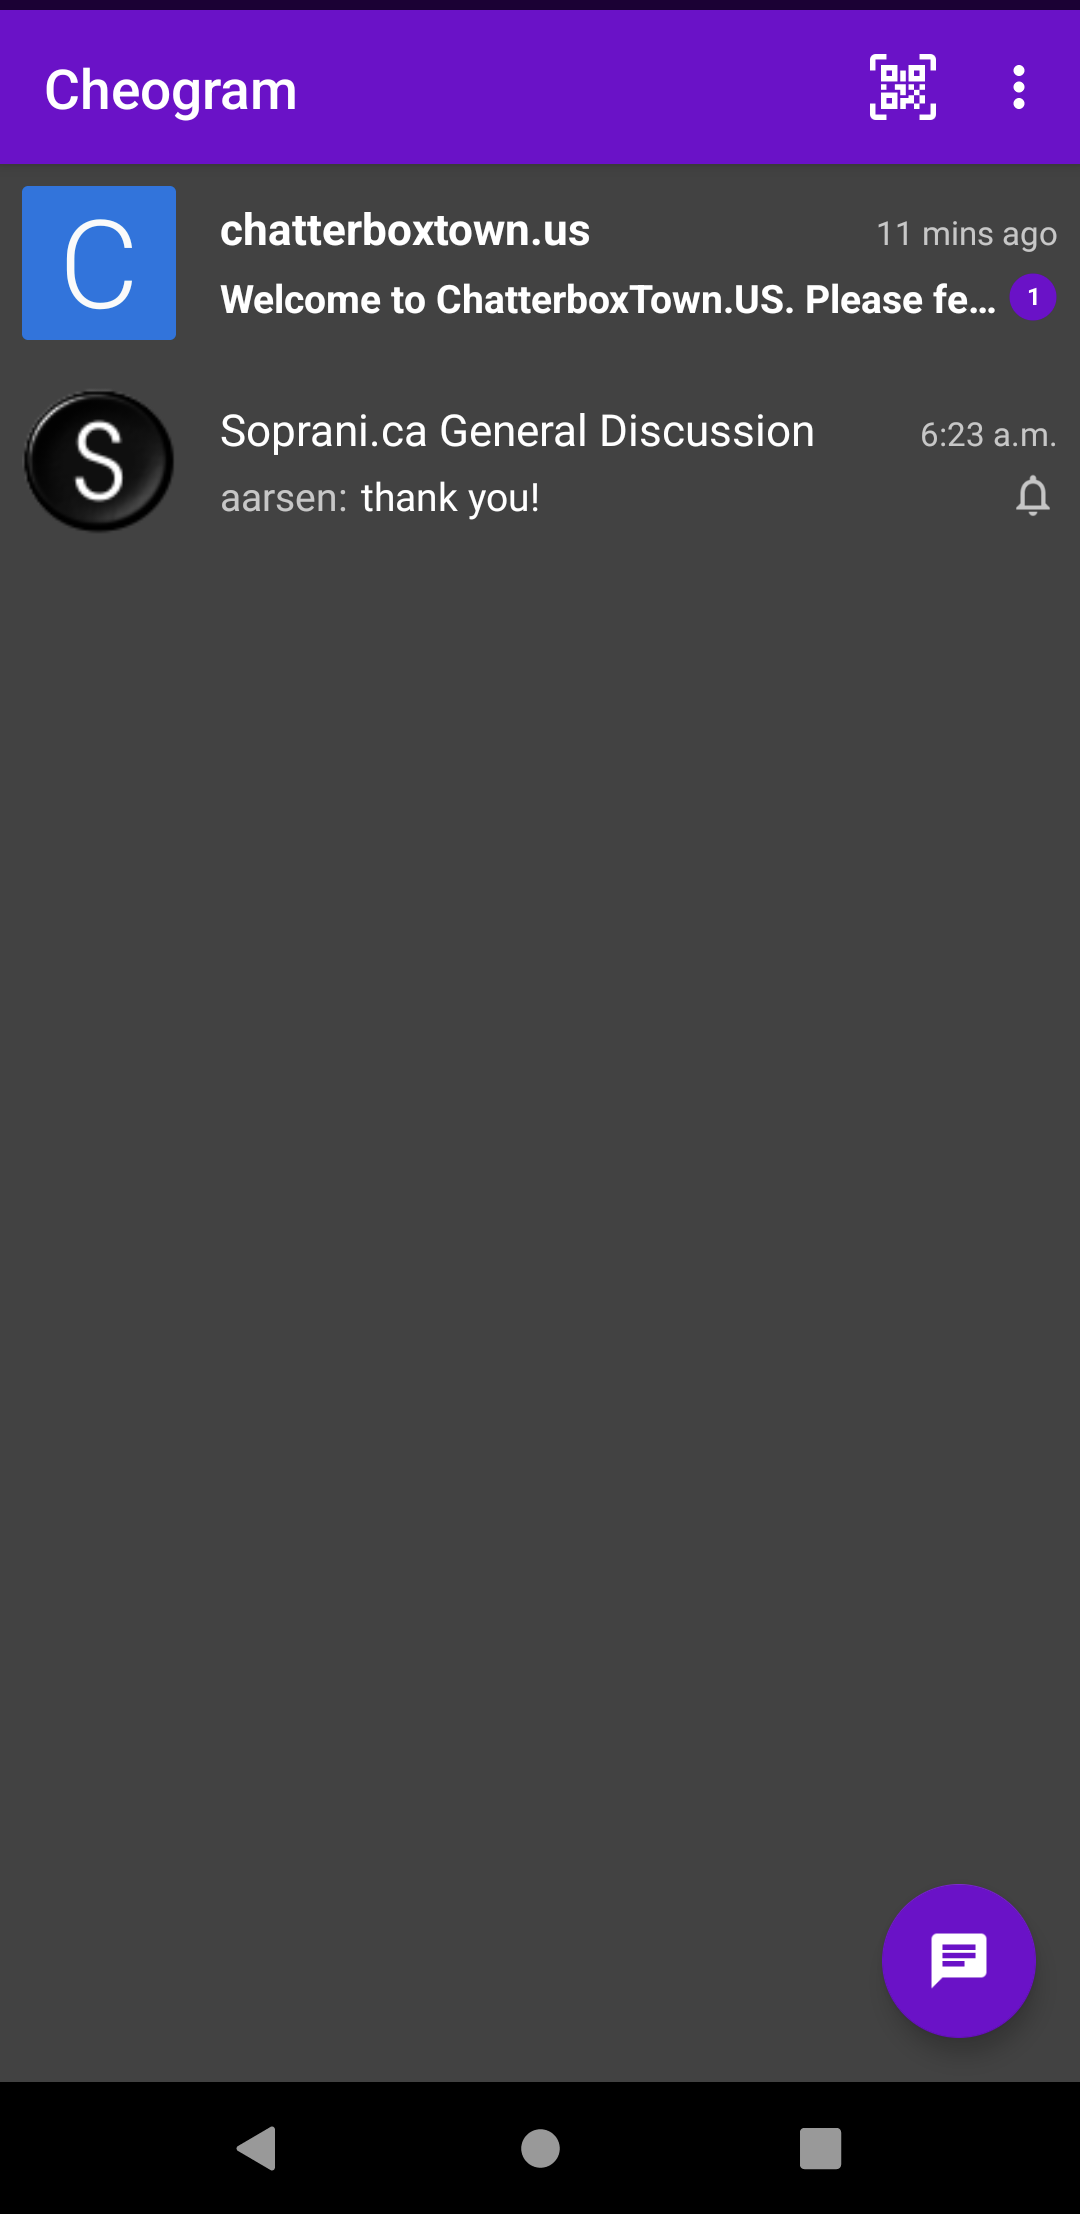
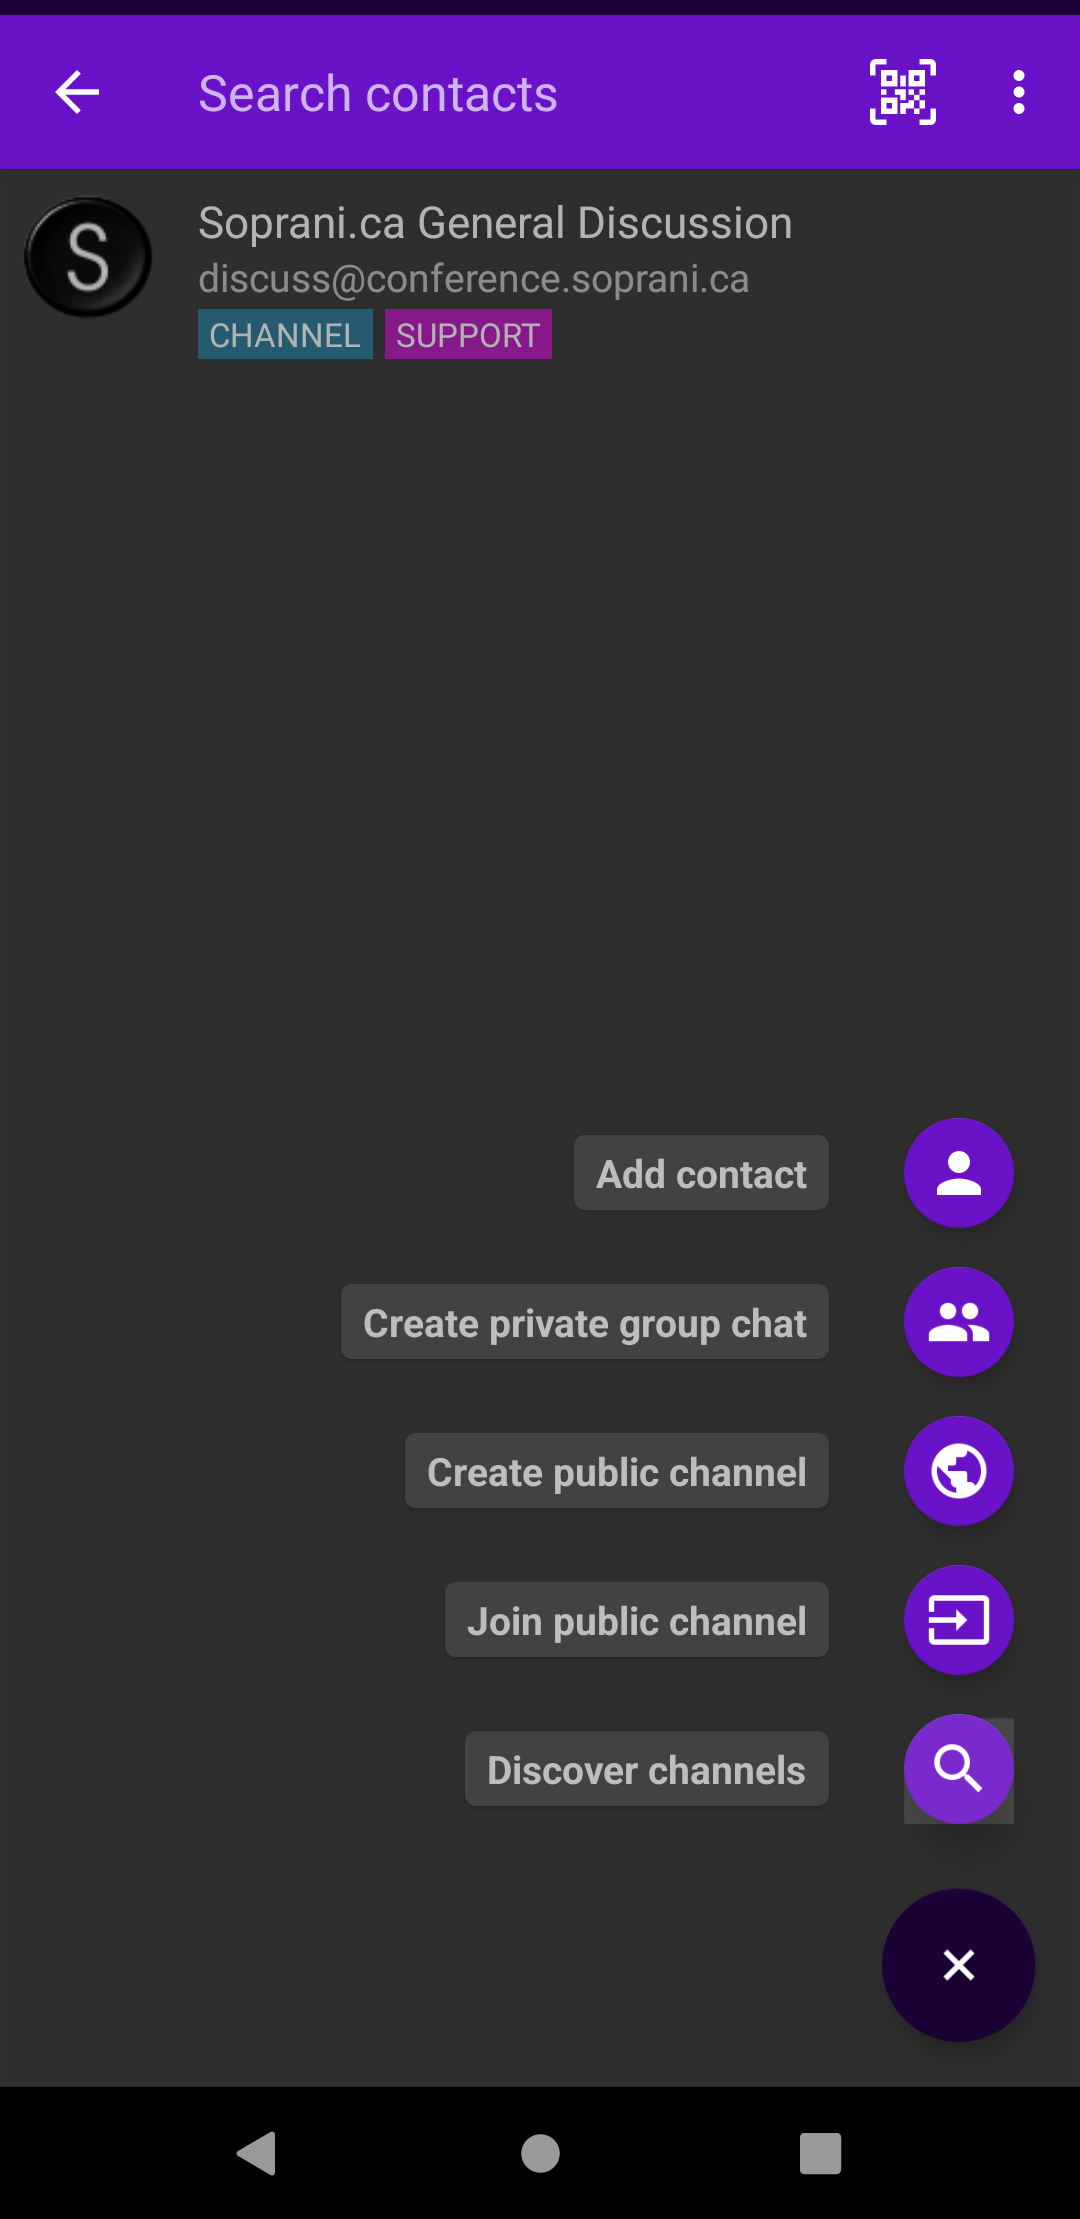
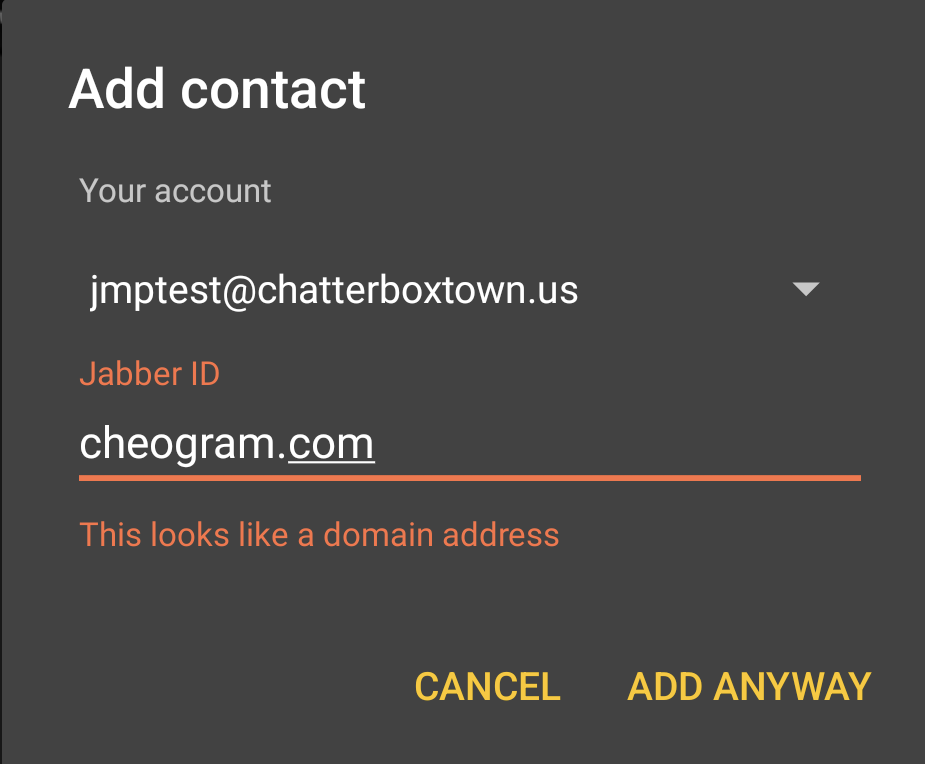
    You can now make a call to any federated SIP address at them\40theirdomain.example.com@sip and to any phone number at +15551234567@sip which wil route via your configured SIP provider.

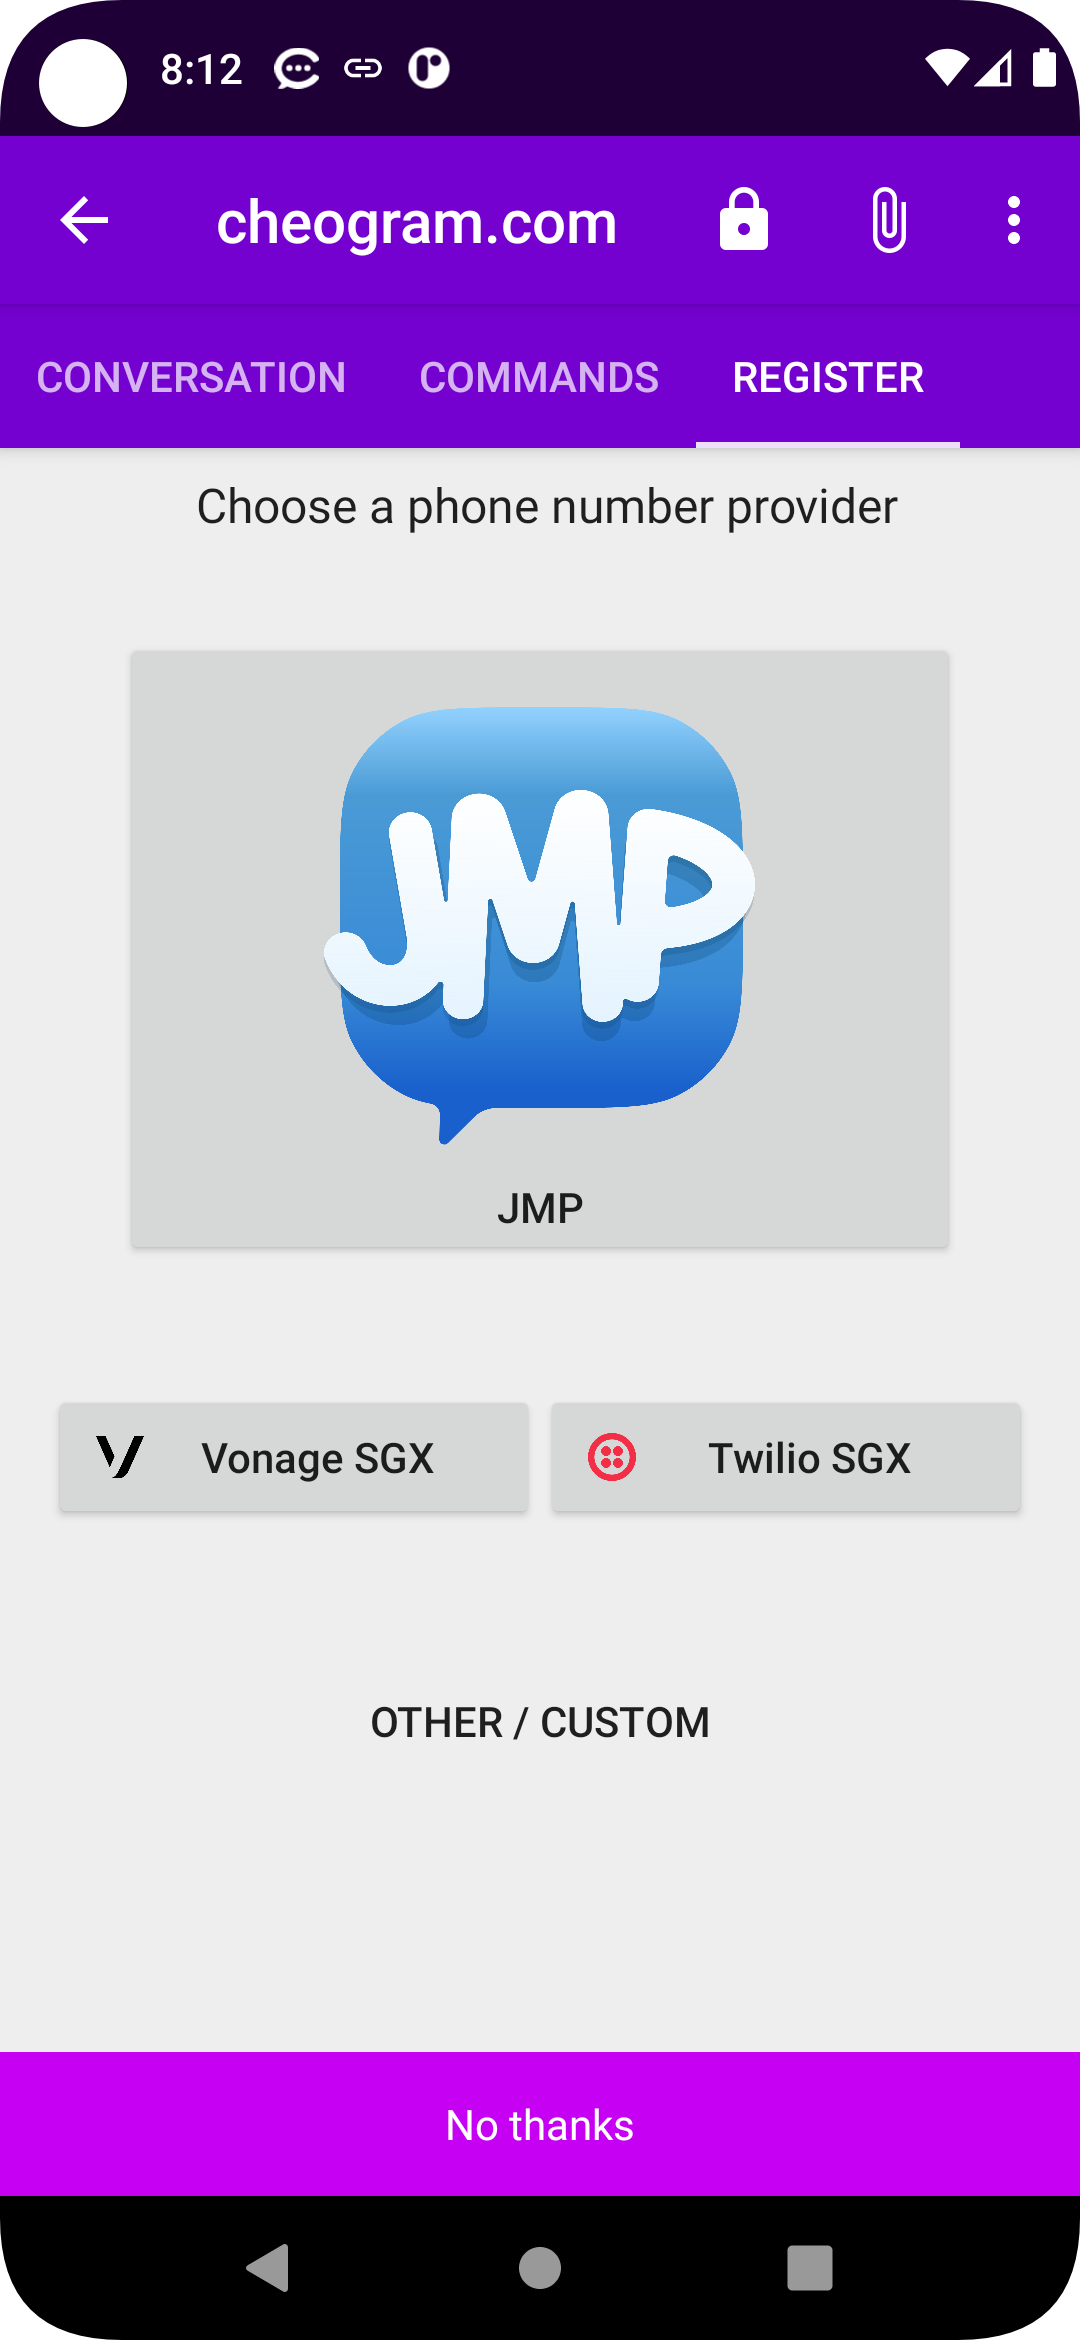
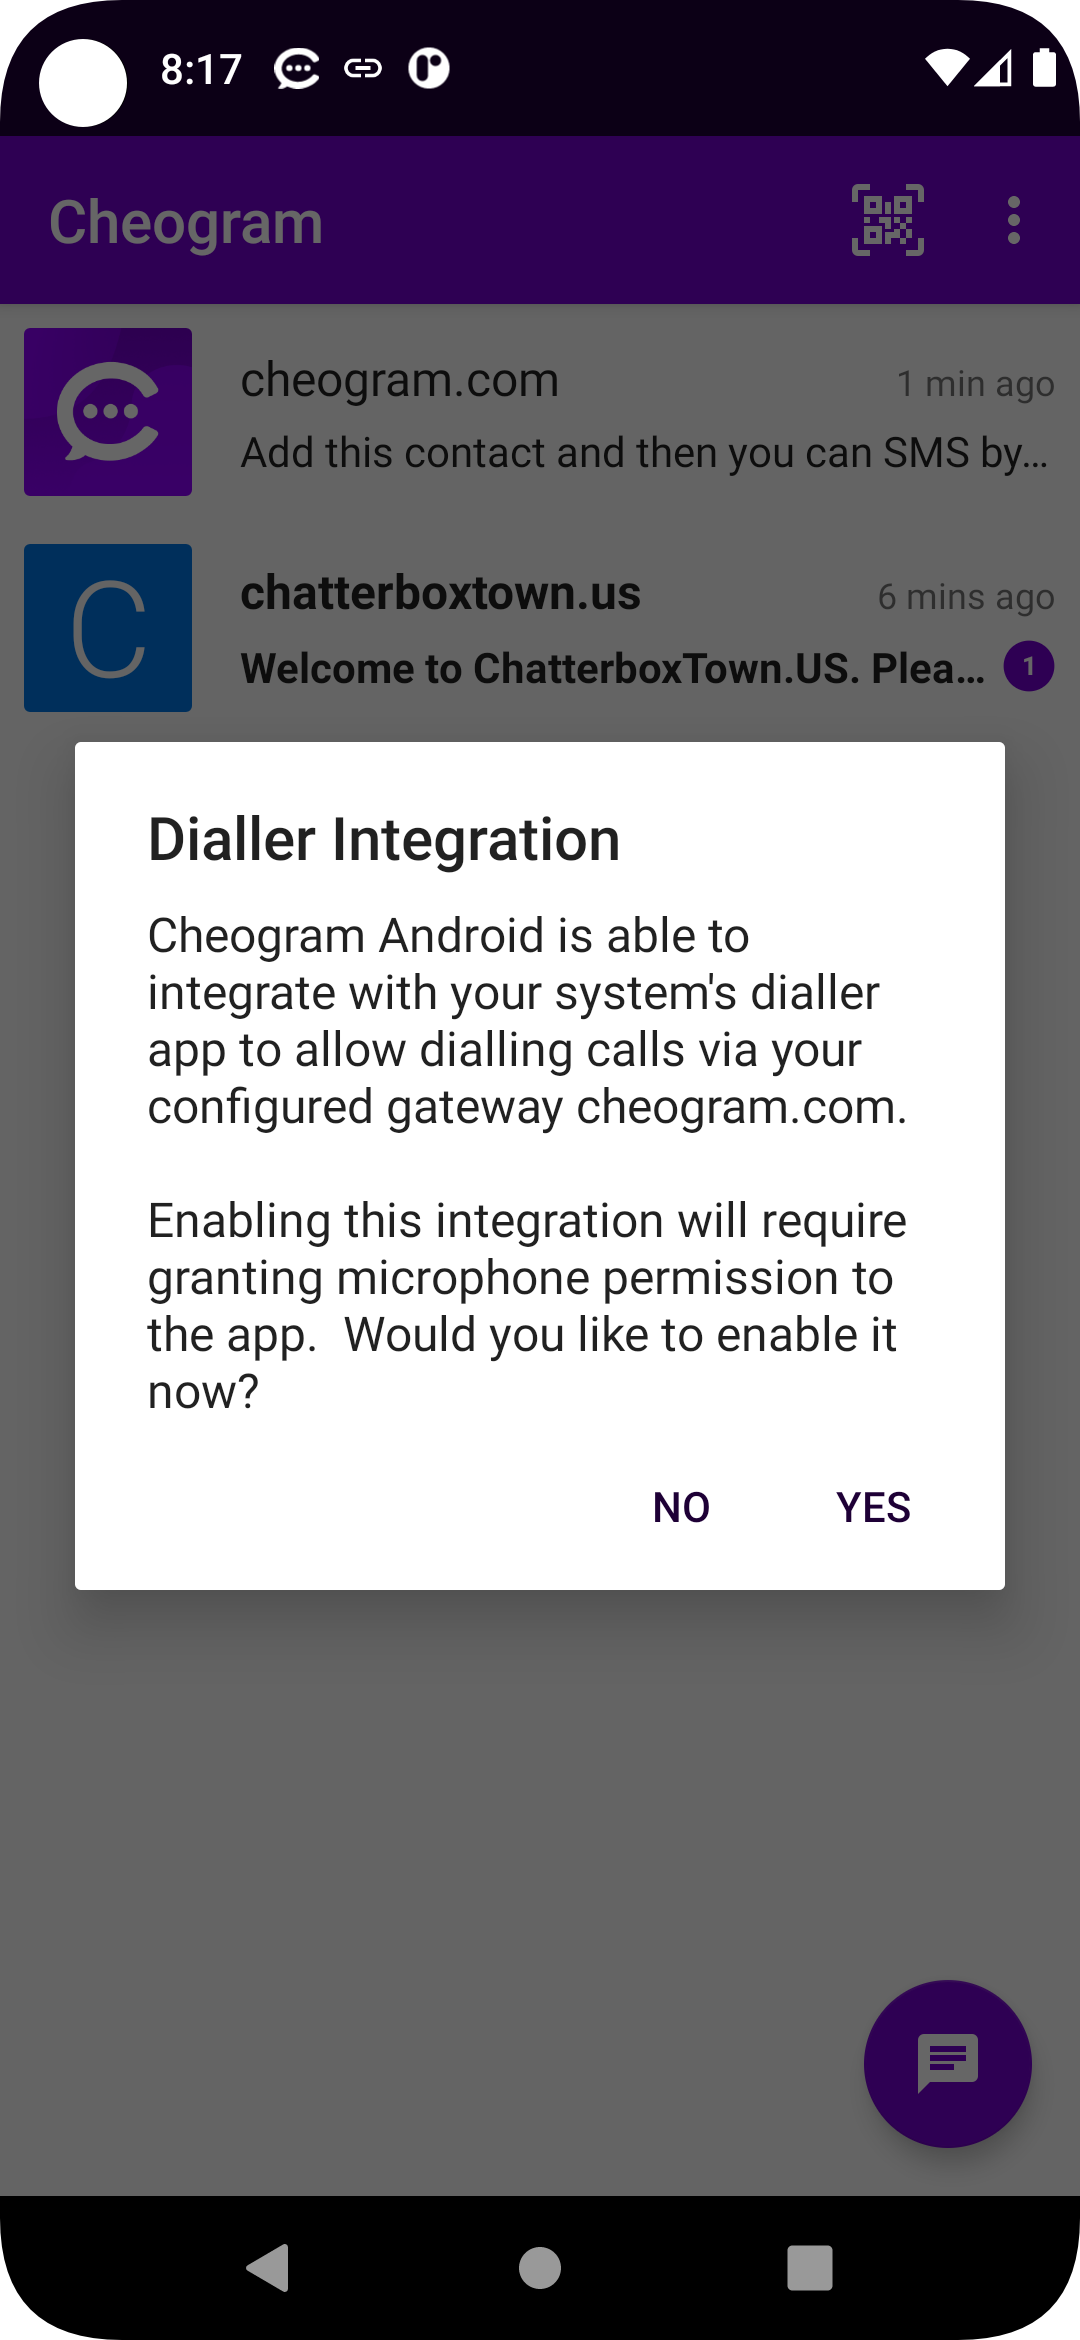
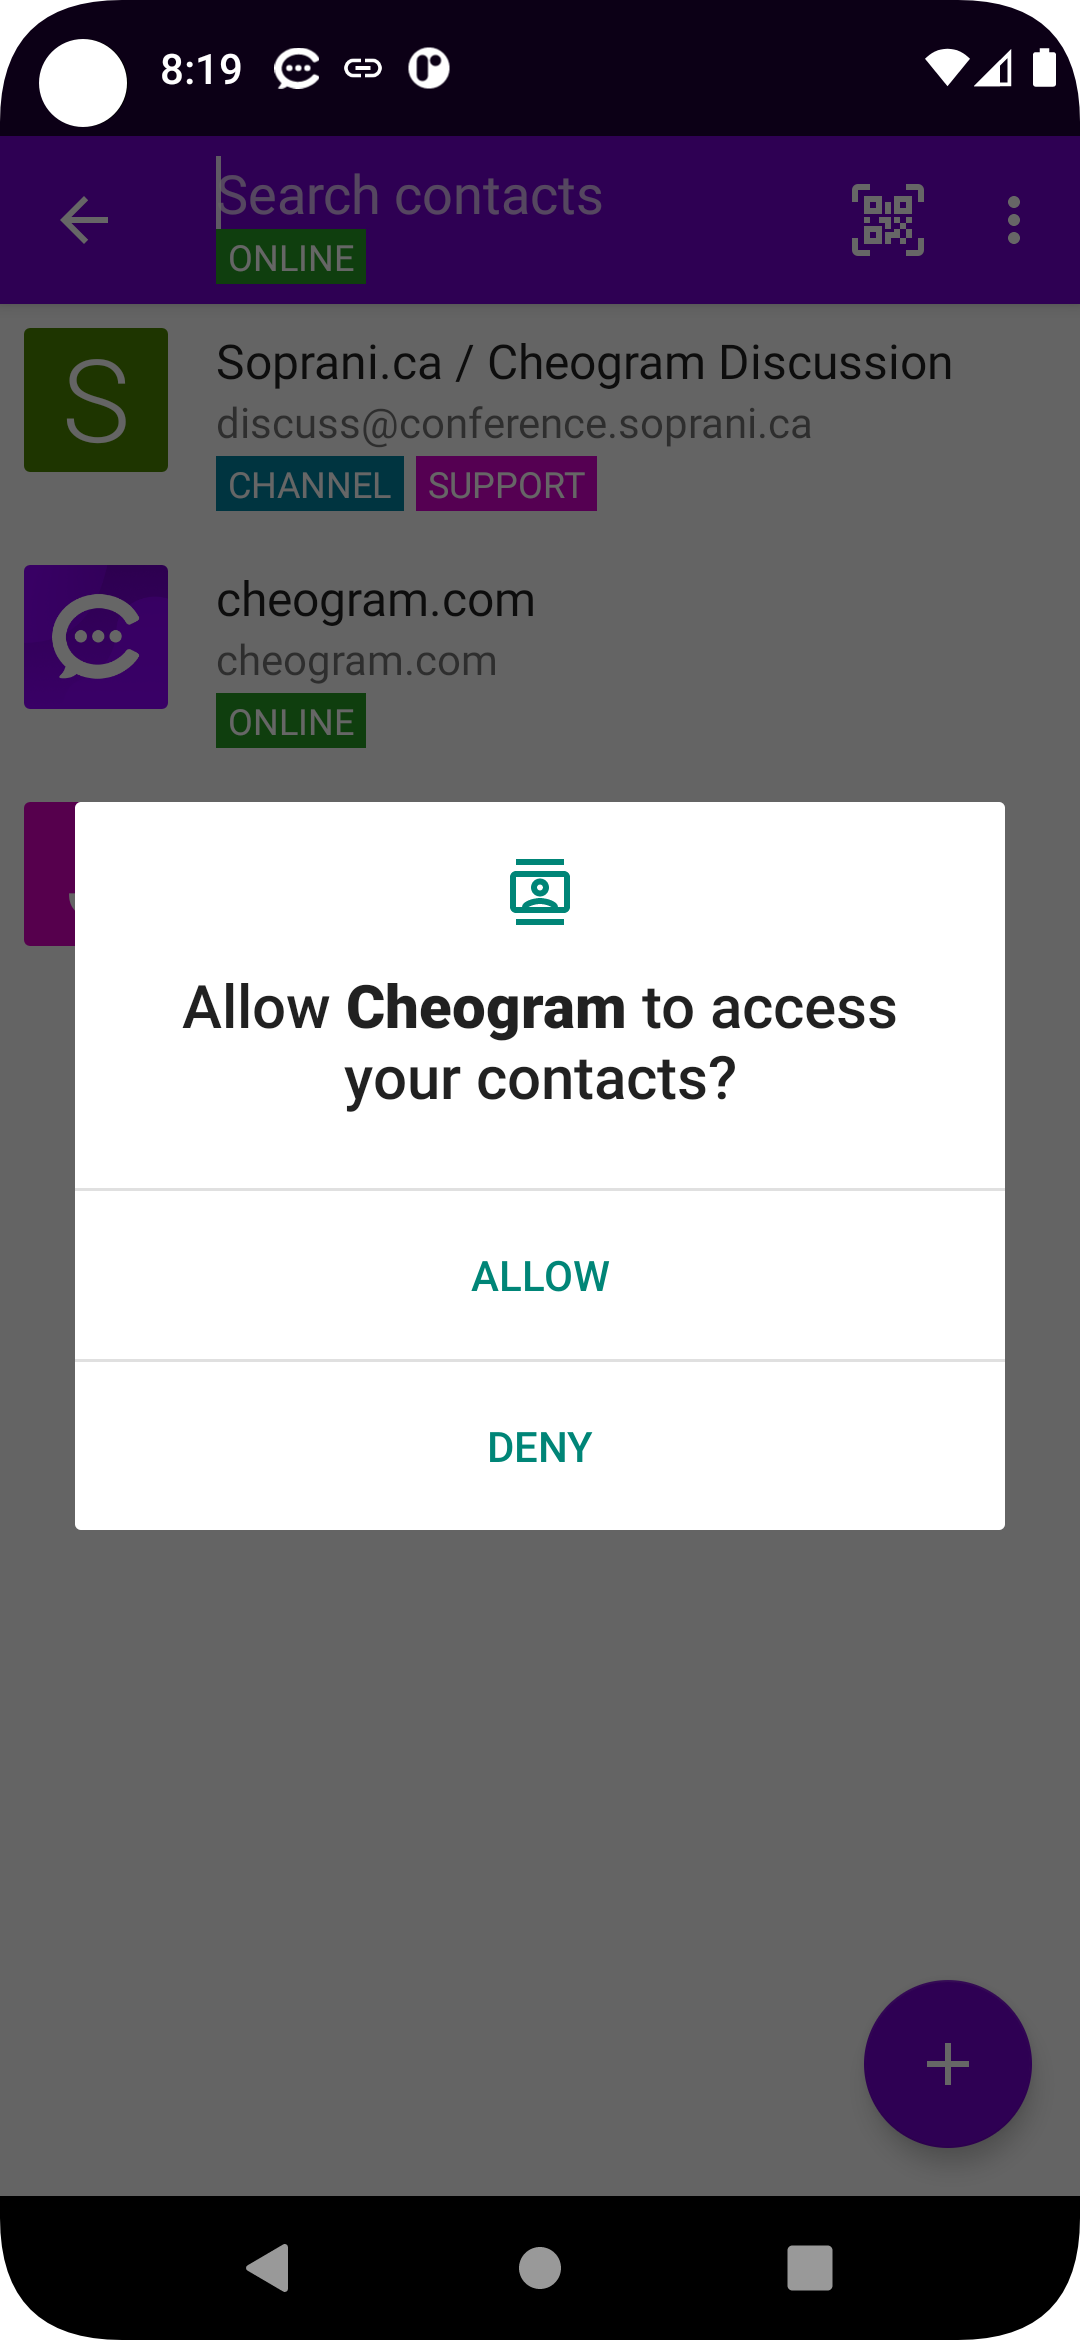
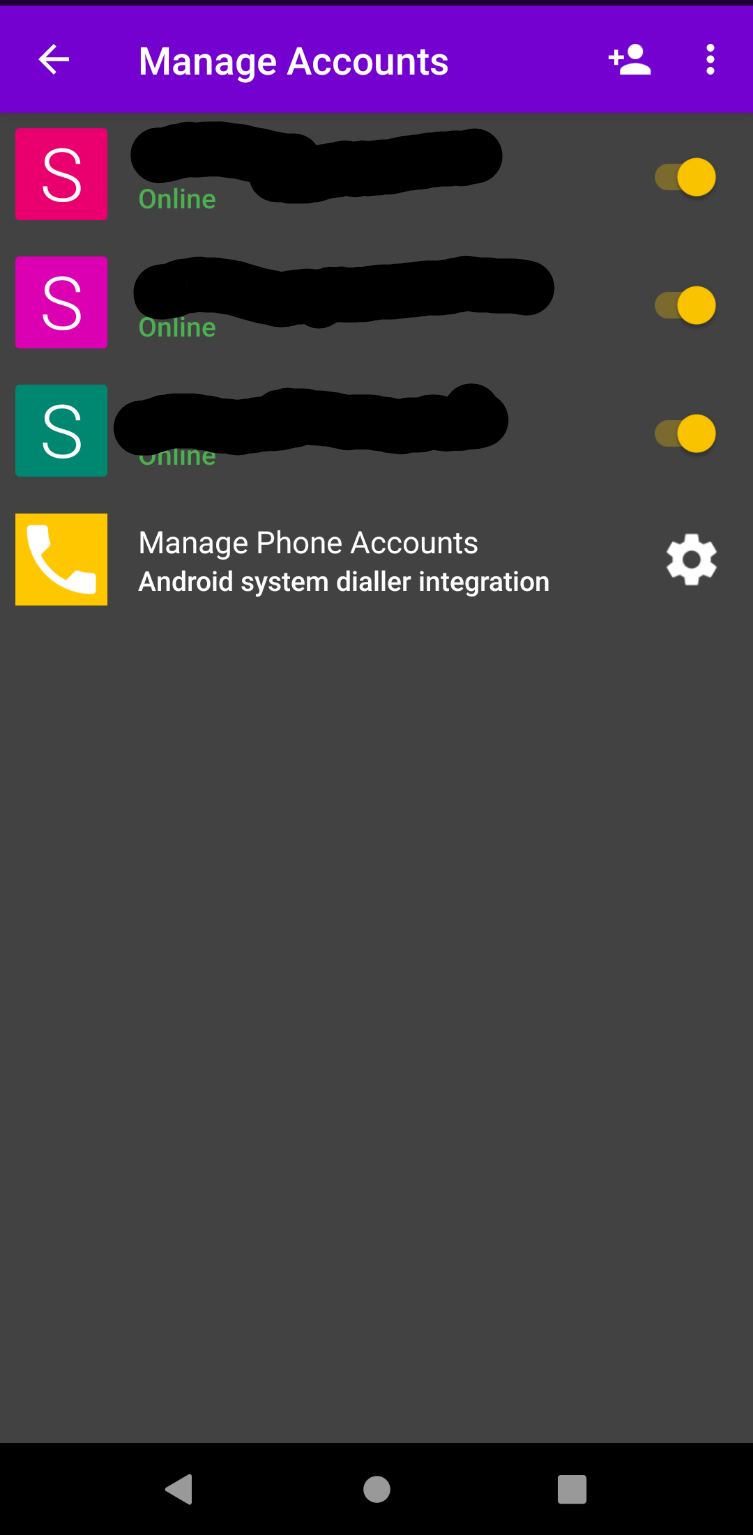
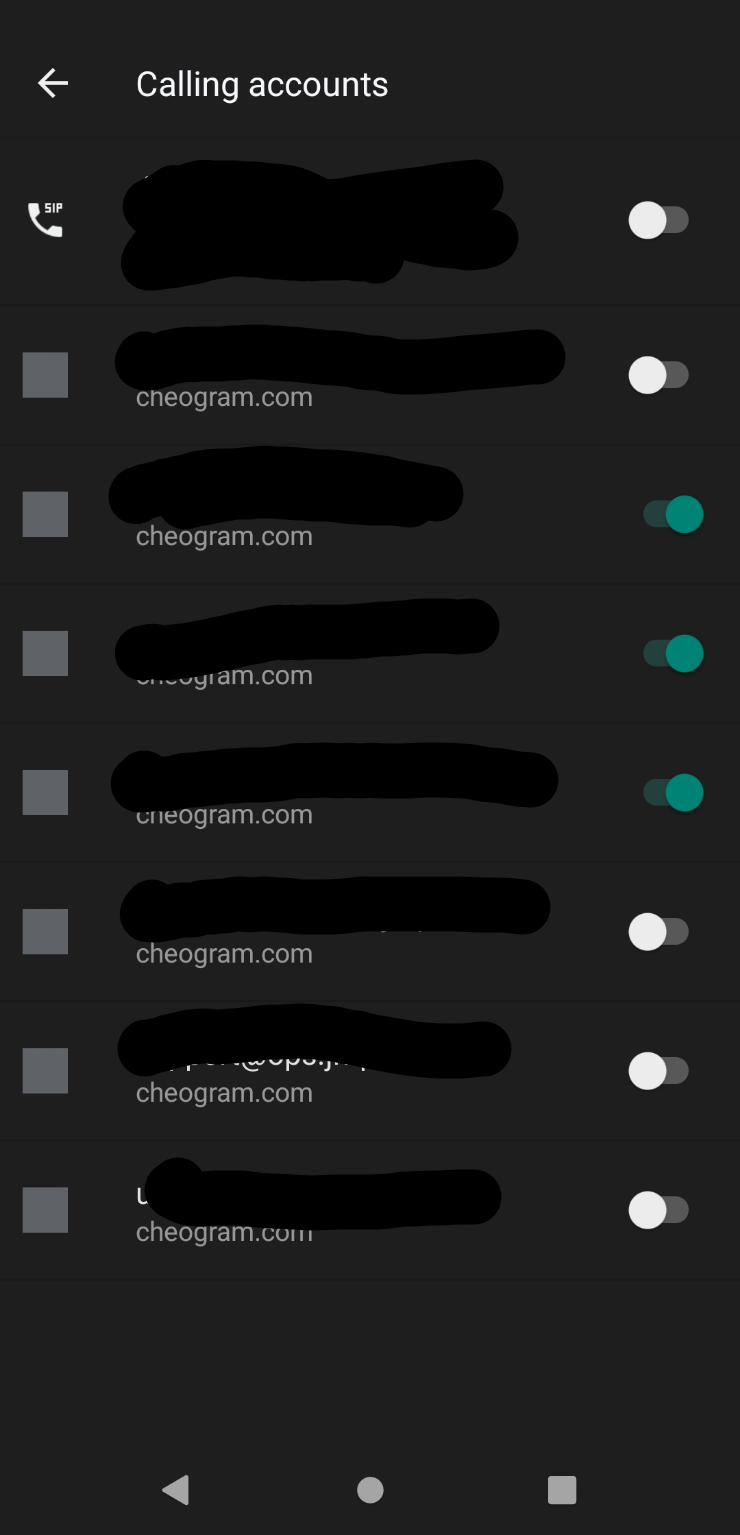
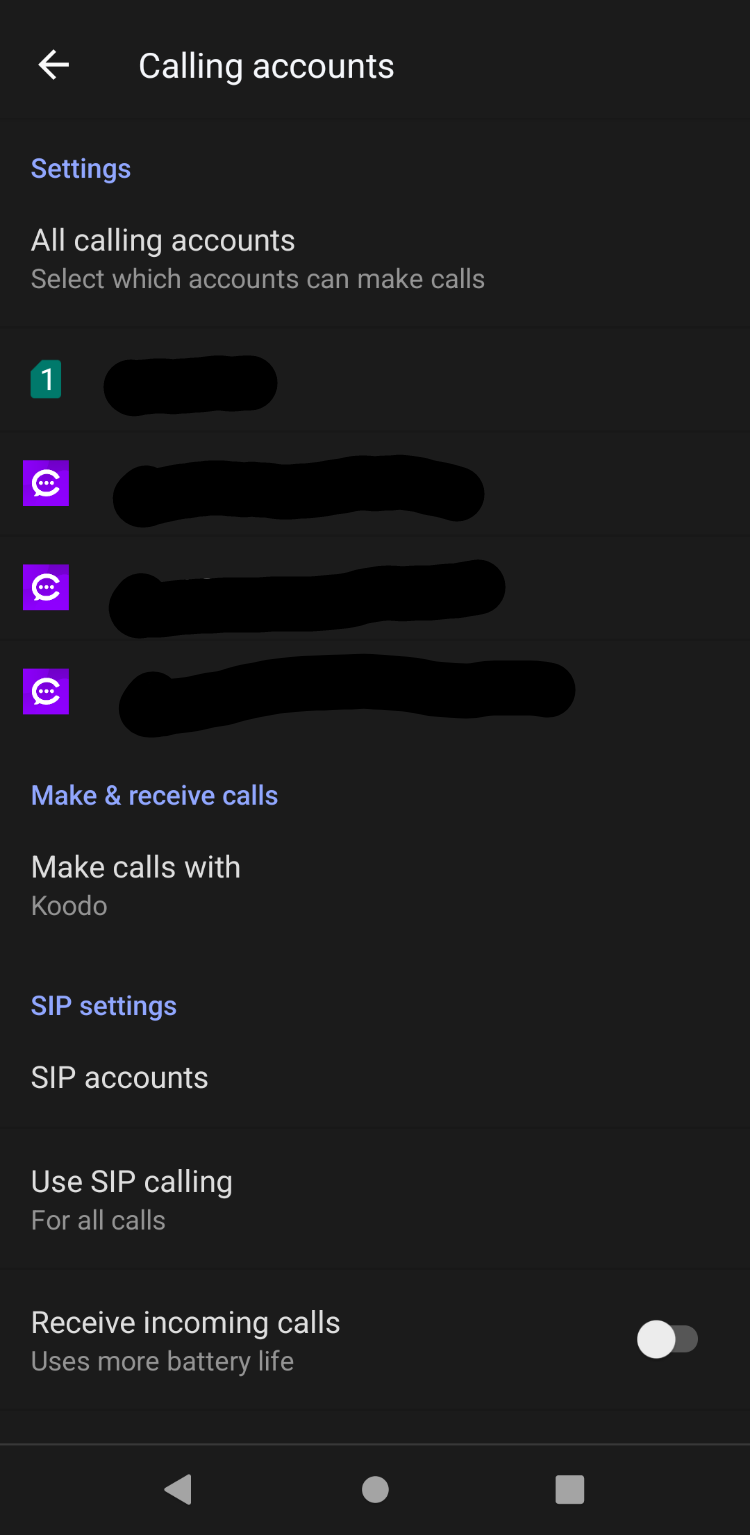
    You should even be able to use the dialler in Cheogram Android:

    Cheogram Android DiallerCheogram Android Dialler

    Inbound calls will route to your Jabber ID automatically as well.
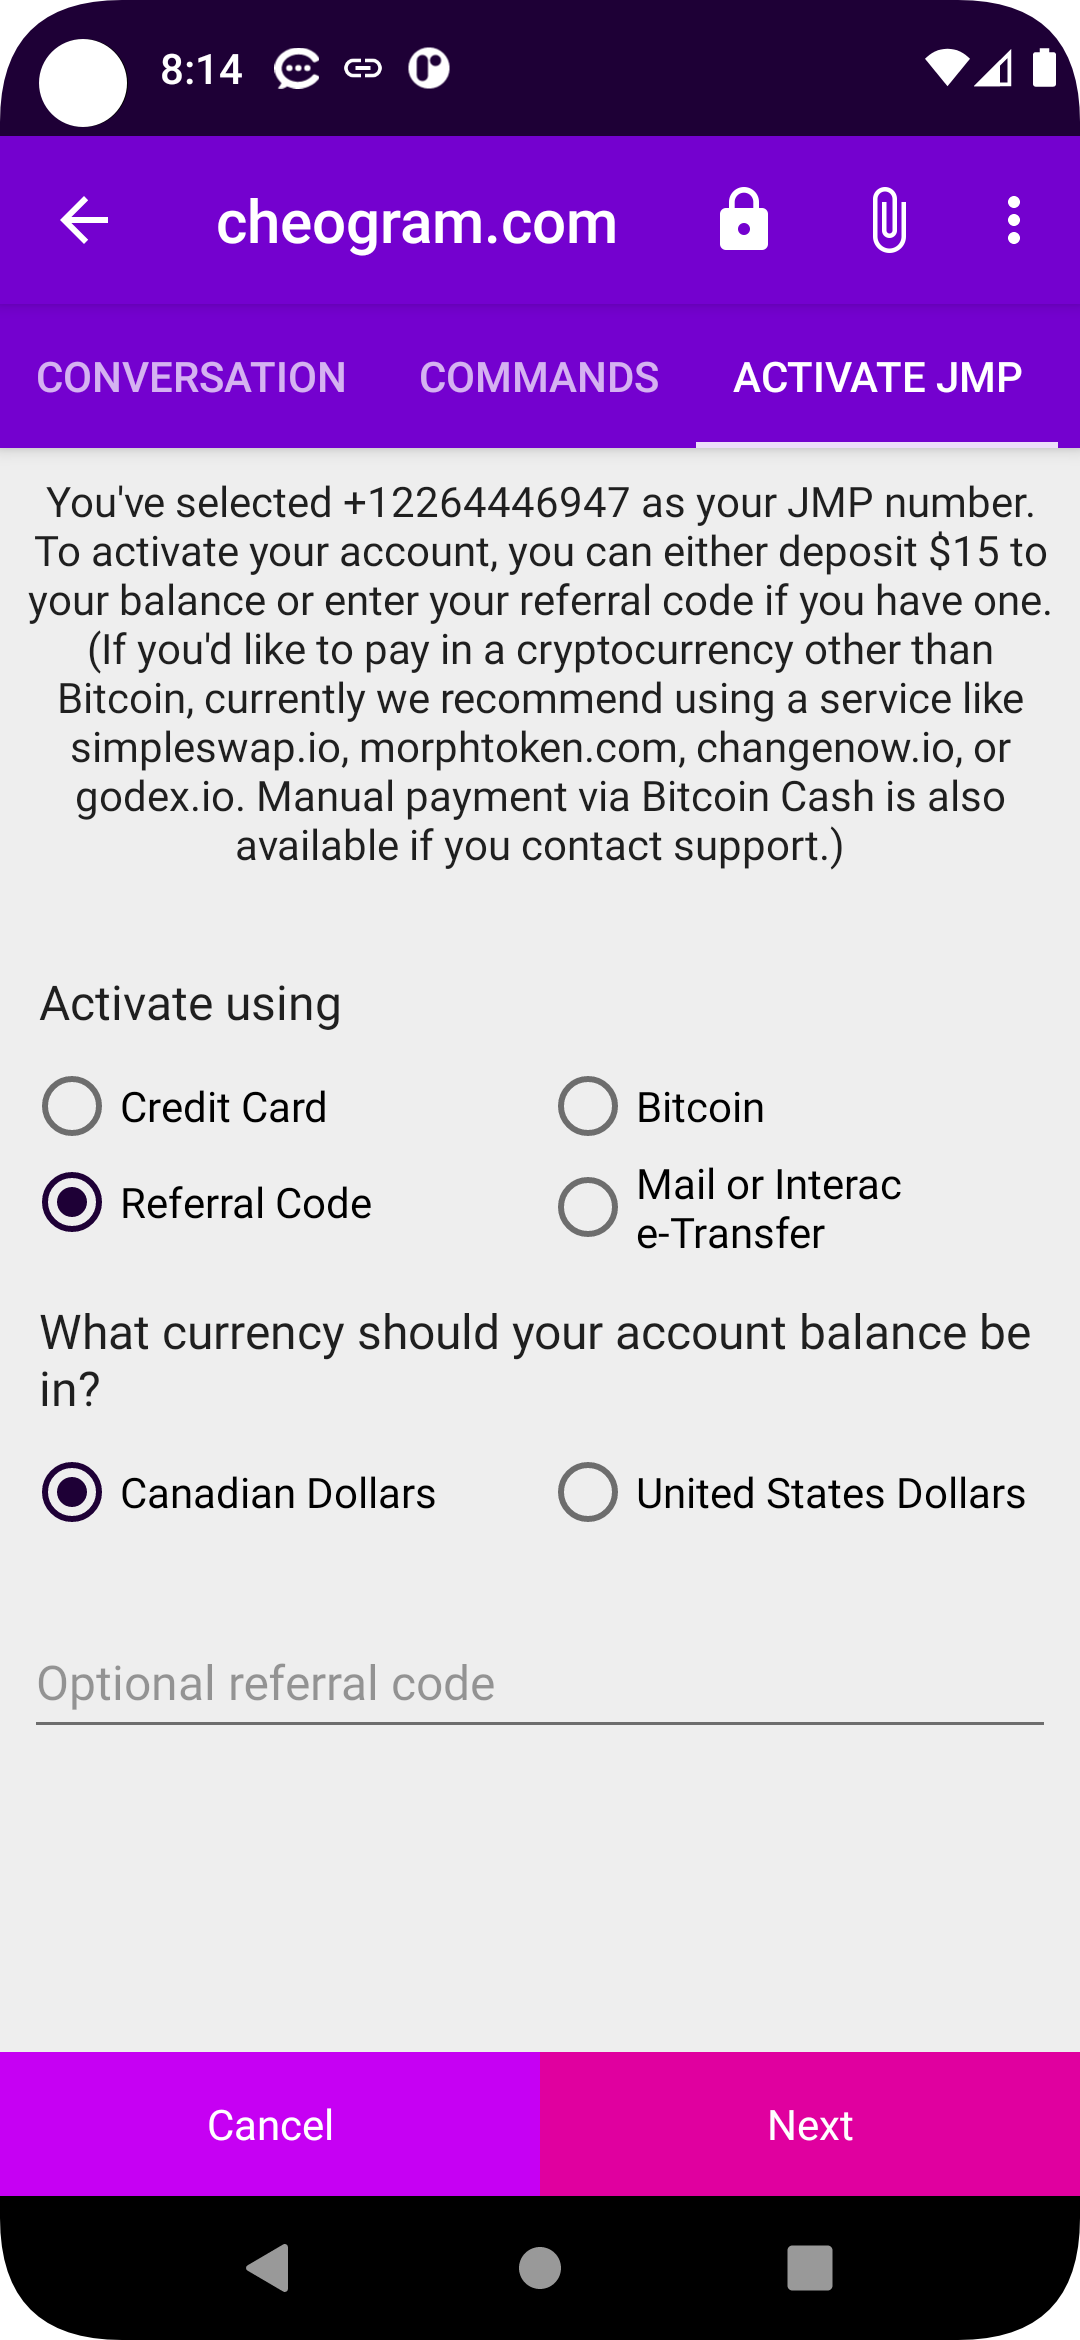
    What About SMS?

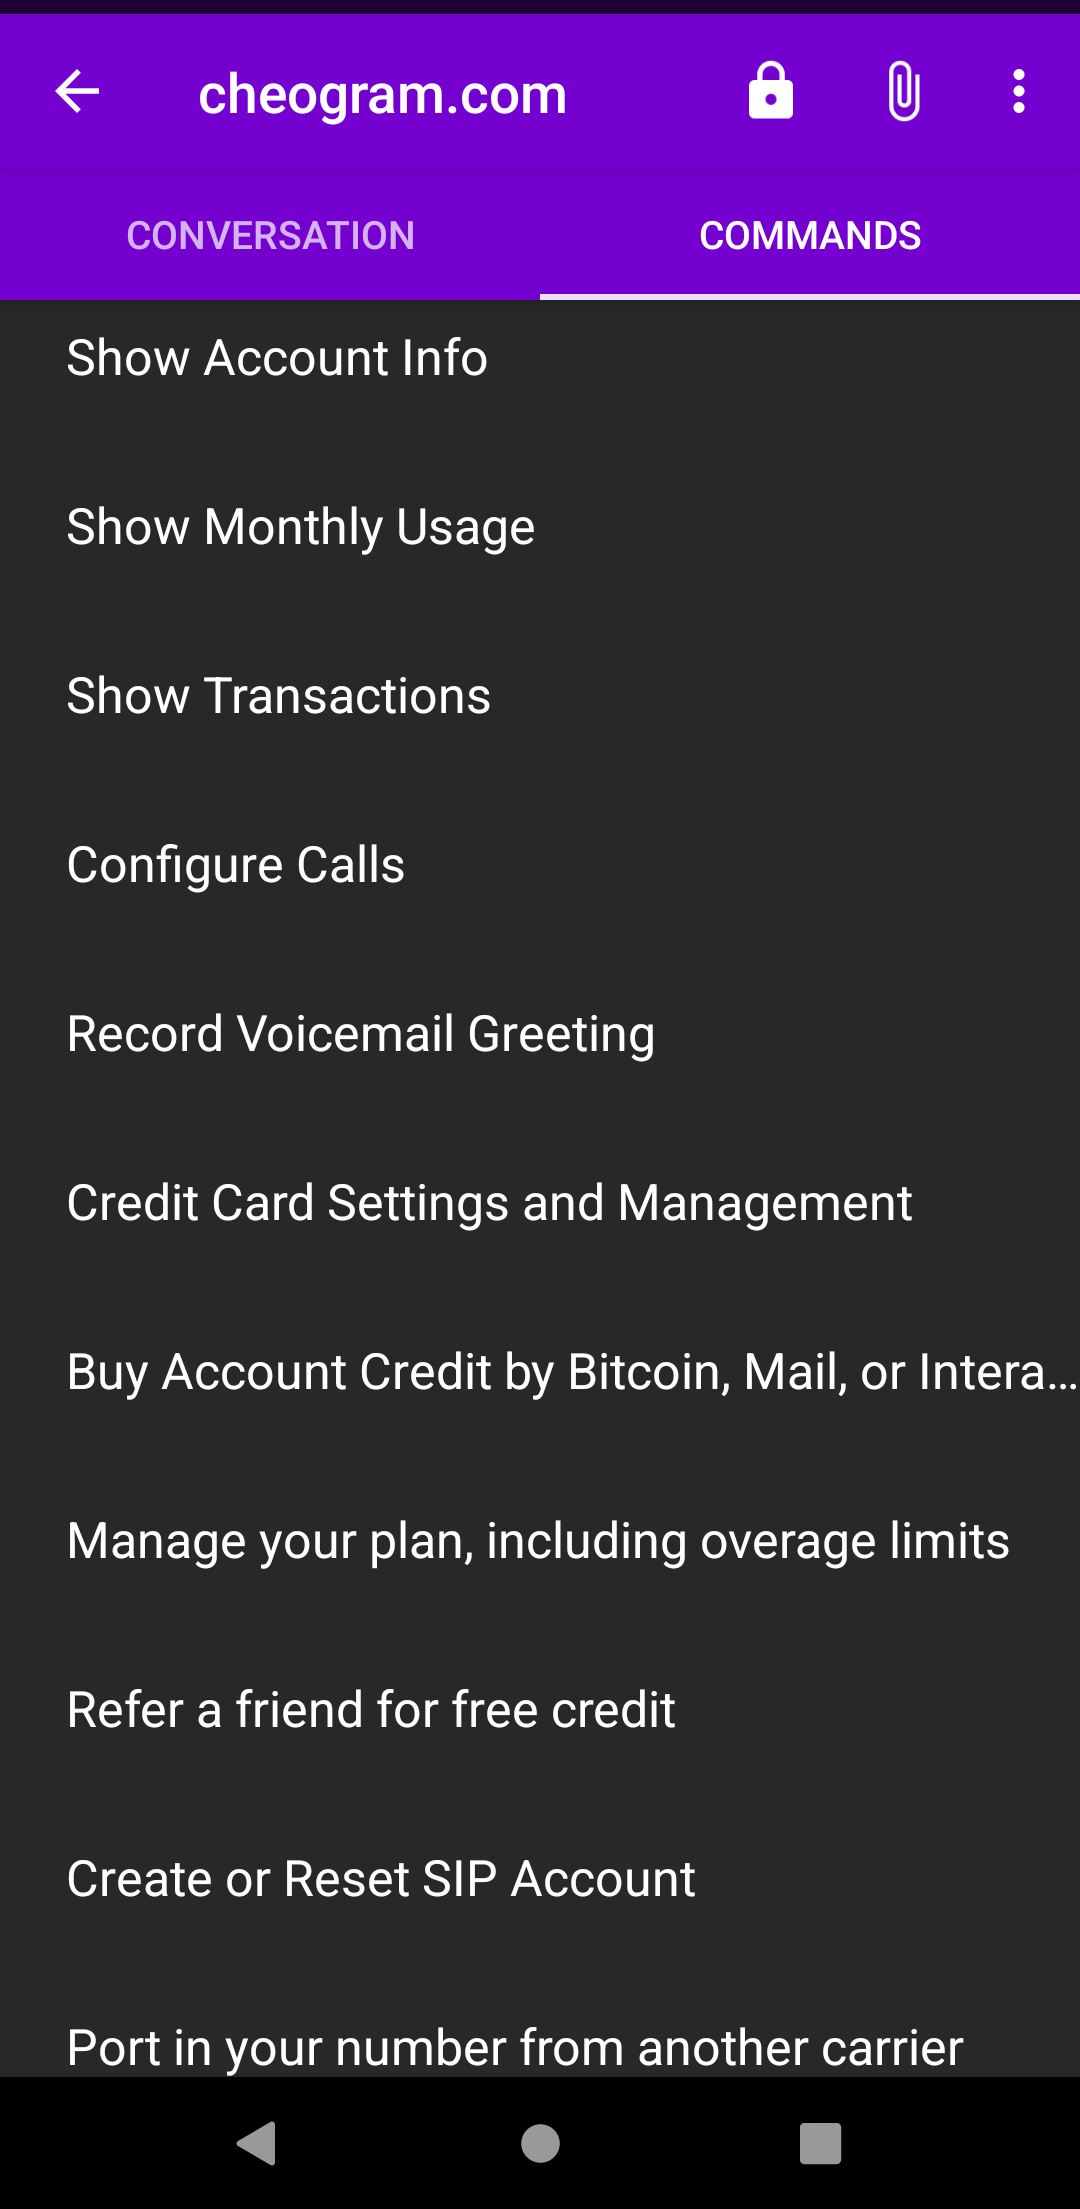
    Cheogram SIP does have some basic support for SIP MESSAGE protocol, so if your provider has that it may work, but more testing and polish is needed since this is not a very common feature at providers we have tested with.

    Where to Learn More

    If you have any questions or feedback of any kind, don’t hesistate to stop by the project channel which you can get on the web or using your Jabber ID.

    • chevron_right

      When to Use apt clean, apt autoclean, and apt autoremove

      TREND OCEANS · Saturday, 16 September, 2023 - 14:23 · 3 visibility

    Do you feel it’s quite confusing and not getting when to use apt clean, apt autoclean, and apt autoremove? then let’s come and clear it up.

    #linux #Ubuntu #Debian #howto #troubleshoot #sysadmin #system #webdev #web #programming #programmer

    Read more

    • chevron_right

      The W Pattern Forex Trading Guide For Beginner

      Alla Traders · Wednesday, 28 December, 2022 - 15:46 edit · 1 minute

    The double bottom or W pattern is the most prevalent chart pattern used in trading. In fact, this pattern is so common that it may be taken as irrefutable evidence by itself that price action is not as totally random as many say. The double bottom pattern is one of the very few that perfectly depicts the market’s direction changing. At the bottom of a downtrend, the double bottom forms itself, offering potential long entries for buyers.

    What Is A Double Bottom (W Pattern)?

    The double bottom pattern is a technical pattern that can be used to identify a likely reversal in the Forex market. The double bottom emerges after an extended move down and can be utilized to discover purchasing opportunities on the way up. Because of the two-touched low and the change in trend direction from downtrend to uptrend, the pattern resembles the letter “W.”

    see the complete blog here Alla Traders

    #forex #stock #crypto #trading #trader #features #thinkpad #postgresql #fediverse #database #apps #zimbabwe #gaming #profanity #xmpp #pipcu #sdr #wow #discussion #chirurgie #tools #ev #rf #instantmessaging #comics #alternativesto #ubuntu #lu #howto #apple #hololive #députés #ecology #chocolat #ft8 #piquetsyndical #8chan #siri #écologie #endurance #how #discord #platforms #dior #rcs #squat #1 #hydroxychloroquine #election #gif #laptops #omemo #hacking #fedora #ethot #compression #potpourri #kaamelott #meme #jitsi #freebsd #feminisme #gajim #animals #sendgnomemoney #métaverse #wordle #fastned #autopilot #cinéma #evolution #ukraine #jabber #sponsor #dessin #rando #africa #entraineur #google #zooarchaeology #community #technology #reddit #movim #ajax #calendar #moderation #snapchat #formation #review #quake #im #attentat #policy #advertising #prosody #abstention #azure #webserver #france #camping #amazon #openwebrx #maps #sncf #lci #darktable #littérature #keyboards #rendement #twitch #eu #projecteur #vieprivée #jpg #dinosaures #hardware #drawing #tyrannosaure #jappix #tgv #pcb #patents #médaille #poezio #animation

    • chevron_right

      Signup with Cheogram Android

      Root · Monday, 29 August, 2022 - 07:30 edit · 4 minutes

    Welcome to JMP.chat! If you are looking for a simple guide on how to sign up for JMP, then you have come to the right place! We will be keeping this guide up-to-date if there is ever a change in how to sign up.

    We will first start with signing up from within your Jabber chat application on mobile, where you will never need to leave the client to get set up. I will be using the freedomware Android client Cheogram to do this signup. To start us off, we will need to create a Jabber ID (or “JID”). Upon first opening the app you will be presented with a welcome screen where you can choose to signup using the built-in flow for chatterboxtown.us, or you can choose your own server.

    Main Startup ScreenAccount User CreationPassword Creation

    We will choose “I need to sign up” for the purposes of this guide, but you are definitely free to choose whatever service you like, or bring your own! On the first screen of the server signup it will ask you to enter a username; this can be anything you want as long as it isn’t already in use on the server. After tapping Next, it will ask you to create a password for this account; length does not seem to be limited so create one as long as you want. Do not forget it, or use a password manager to create/store the password! Tapping Next again will log you in and offer to set an avatar for your account, you can set one now or choose to do so at a later time, if at all.

    CaptchaProfile AvatarService Selectioin

    Once you are logged in Cheogram will immediately open the sign-up screen with the Cheogram Bot, where you can select which service you are planning to set up. Once you tap on the JMP logo you will be presented with a number search box. Here you can search by Area Code, State (or Province), City/State, Zip Code, or even a vanity pattern by placing the tilde (~) character first followed by up to 4 numbers. You will then be presented with a scrollable list of numbers to choose from, tap on one and then tap next to continue on. On the nex tpage you will choose how to activate your account, with the options of Credit Card, Bitcoin, Referral Code, Mail or e-Transfer. You must also choose which currency you will be using. After selecting one of the four payment options, the next screen will either ask for paymment by the chosen method with details on how to pay, or activate your account if you used a valid referral code.

    Number SearchNumber Search ResultsPayment Method

    Once your account has been activated you will be presented with the command UI of the bot, which has all of your account options, settings and details. Tapping “Show Account Info” will display your phone number, account balance and other useful information. Exiting from this view you should be presented with a popup asking if you want to enable Dialer Integration and grant Microphone permissions, tap yes to enable these features and be taken through the setup of dialer integration.

    Command UIAccount InfoDialer Integration Permission

    Mic Permissions DialogCalling AccountsMake Calls With Priority

    At some point you will also be asked if you want to download the default stickers for use in your chats, if you do tap “YES” and then it will prompt you for Media access permissions (this will allow Cheogram to access labelled folders inside the common media locations such as Downloads, Pictures, Documents, Movies). Tap to allow access permissions and Cheogram will download them in the background. Bonus: you can also download sticker packs from any other site and then load them into Cheogram!

    Sticker DownloadMedia Access DialogBattery Optomization

    Now that you have activated your account and set up dialer integration you are able to place calls, even from your native dialer, SMS or MMS with your contacts. To add a contact within Cheogram is quite easy with the contacts integration. Now that the bot has been added to your account contacts, your device’s contacts should already be visible when you tap on the “chat” icon to start a new chat, or you can do the following to add a contact to your Jabber server. First tap the chat icon, tap the “+”, then “add contact”. The first thing you should notice that is different this time with the dialog box that pops up is that it now has two selectable buttons: Jabber ID, and PSTN. The PSTN option makes adding telephone numbers for calling or sending SMS to very easy, just type out the phone number you wish to add to your contacts and then tap CALL or MESAAGE, depending on what you wish to do first. This will automatically format the phone number according to the locale detected on your device. If you need to add an international number, you will need to add the phone in the full international format to override the country code being automatically added. With the contact now added, you can either start typing out a message, or tap the “phone” icon that appears at the top to make an audio call to the contact. Images, videos and audio files can also be sent using a number from JMP.

    Contacts PermissionsAdd Contact 1Add Contact Form

    • chevron_right

      Signup with Cheogram Android

      Root · Monday, 29 August, 2022 - 07:30 edit · 5 minutes

    Welcome to JMP.chat! If you are looking for a simple guide on how to sign up for JMP, then you have come to the right place! We will be keeping this guide up-to-date if there is ever a change in how to sign up.

    We will first start with signing up from within your Jabber chat application on mobile, where you will never need to leave the client to get set up. I will be using the freedomware Android client Cheogram to do this signup. To start us off, we will need to create a Jabber ID (or “JID”). Upon first opening the app you will be presented with a welcome screen where you can choose to signup using the built-in flow for conversations.im or chatterboxtown.us, or you can choose your own custom server.

    Main Startup ScreenJabber Server SelectionAccount User Creation

    We will choose chatterboxtown.us for the purposes of this guide, but you are definitely free to choose whatever service you like, or bring your own! On the first screen of the server signup it will ask you to enter a username; this can be anything you want as long as it isn’t already in use on the server. After tapping Next, it will ask you to create a password for this account; length does not seem to be limited so create one as long as you want. Do not forget it, or use a password manager to create/store the password! Tapping Next again will log you in and offer to set an avatar for your account, you can set one now or choose to do so at a later time, if at all. Once logged in to the new account, Cheogram will ask for permissions to your contacts, you can accept or deny them. Accepting will allow us to implement the integration, which we will explain at the end of this post.

    Password CreationProfile AvatarMain ChatCaptchaContacts Permissions Dialog

    Now the fun begins! First we will need to add the Cheogram bot as a contact before communicating with it. To do this tap the “chat” bubble icon in the lower right corner, it will change views as well as change to a “+” sign, tap it again, then tap “Add contact”. A dialog box will appear where you can type in a contact’s “Jabber ID”, here you will want to put cheogram.com and tap Add, it will provide a prompt saying that it “appears to be a domain”, so tap “add anyway” and then it will open the screen for the bot, most likely displaying the bot comands tab view.

    Chat Icon PressAdd Contact DialogBot Commands Tab View

    From here you will get to see one of the features of the Cheogram app, the Command UI! When a chat first opens you will notice that a “tab” near the top will appear titled “Commands”; it is from within this tab that you can manage all the features and settings of your JMP account, but first we need to register an account, and you will notice there is only one command available right now, “register with backend”. You will want to tap this “register” command, and it will take you to the next step. Here you will choose the backend SGX you are wanting to use; this list includes the most popular community ones as well, but we need to select the JMP option. The next screen will ask you to enter a search term for selecting a number; this can be by area code, state/province, city&state/province, or lead with the tilde “~” character to indicate a vanity pattern. We have chosen areacode 902 which then shows us a list of numbers on the next screen; choose one and tap Next.

    Backend SelectionNumber Search BoxNumber Selection List

    On the following screen it will ask you how you wish to activate your account; you have four options: Credit Card, Invite Code, Bitcoin, and Mail or Interac e-Transfer, as well as what the base currency is that you want to use. For this tutorial we have chosen credit card and Canadian dollars. Tapping Next will give us a page rendered in-app where you can add a credit card to use for activation, and choose the amount of funds that will be auto-charged to your credit card when your balance drops below $5. If you clear this box before tapping save, it will disable the auto top-up feature on your account, tapping Next will finish the sign up process. You can now open the Commands tab again and check out the new commands available for your account; details on these commands will come in a seperate blog post.

    Currency and Payment OptionInvite CodeActivation Screen

    Now that you have activated your account you are able to call (who really does this anymore, seriously? ;) ), SMS or MMS with your contacts. To add a contact within Cheogram is quite easy with the contacts integration. Now that the bot has been added to your account contacts, your device’s contacts should already be visible when you tap on the “chat” icon to start a new chat, or you can do the following to add a contact to your Jabber server. First tap the chat icon again like you did earlier to add the bot, tap the “+”, then “add contact”. The first thing you should notice that is different this time with the dialog box that pops up is that it now has two selectable buttons: Jabber ID, and PSTN. The PSTN option makes adding telephone numbers for calling or sending SMS to very easy, just type out the phone number you wish to add to your contacts and then tap ADD. This will automatically format the phone number according to the locale detected on your device. If you need to add an international number, you will need to add the phone in the full international format to override the country code being automatically added. With the contact now added, you can either start typing out a message, or tap the “phone” icon that appears at the top to make an audio call to the contact. Images, videos and audio files can also be sent using a number from JMP.

    Bot CommandsPSTN Contact DialogConversation View

    Another helpful feature of the Cheogram app is native dialer integration. This allows you to make phone calls straight from your dialer just like any other phone call. To enable this, tap on the 3-dot menu in the top right of the main Cheogram screen, and then tap on Manage Accounts. Here you should see a new option under your account(s) that says “Manage Phone Accounts”, tap on that title and it will take you to a system settings page where you can enable your Jabber ID to make and receive calls, tap the toggle next to the account you want to enable. Now go back to your Manage Accounts screen in Cheogram and then tap the “gear” icon and from this second system settings page, you can select which “calling account” is your default, or to require it to always ask what account you want to use. Do note that there is currently a known bug in Android where this setting will reset after every reboot of the device, there currenltly is no fix out and Google says it will be fixed in a later release version of Android.

    Manage Accounts ScreenSystem Dialing AccountsDefault Dialling Accounts

    • Ic chevron_right

      How to use path wildcards in Graphite Module

      pubsub.slavino.sk / icinga · Wednesday, 30 March, 2022 - 09:24 edit

    The Graphite module of Icingaweb2 is a great tool for rendering graphs from performance data. The latest version 1.2.0 introduces some bug fixes and new features like dark and light mode support, a lot of new templates, support for path wildcard, etc. The support for wildcard * was already available in the previous version. We […]

    The post How to use path wildcards in Graphite Module appeared first on Icinga .


    Značky: #Graphite, #How-tos, #icingaweb2, #Network, #Modules, #graphs, #howto, #Development